Session 02 - Emberwood Village
Session 02 Recap – Emberwood Village
“One gold is cheap. The alternatives get expensive fast.”
You arrived in Emberwood Village alongside Eren Marlowe, paid in full for your work on the road—25 gold each, plus a 5 gold bonus for surviving the journey and the horrors you encountered along the way.
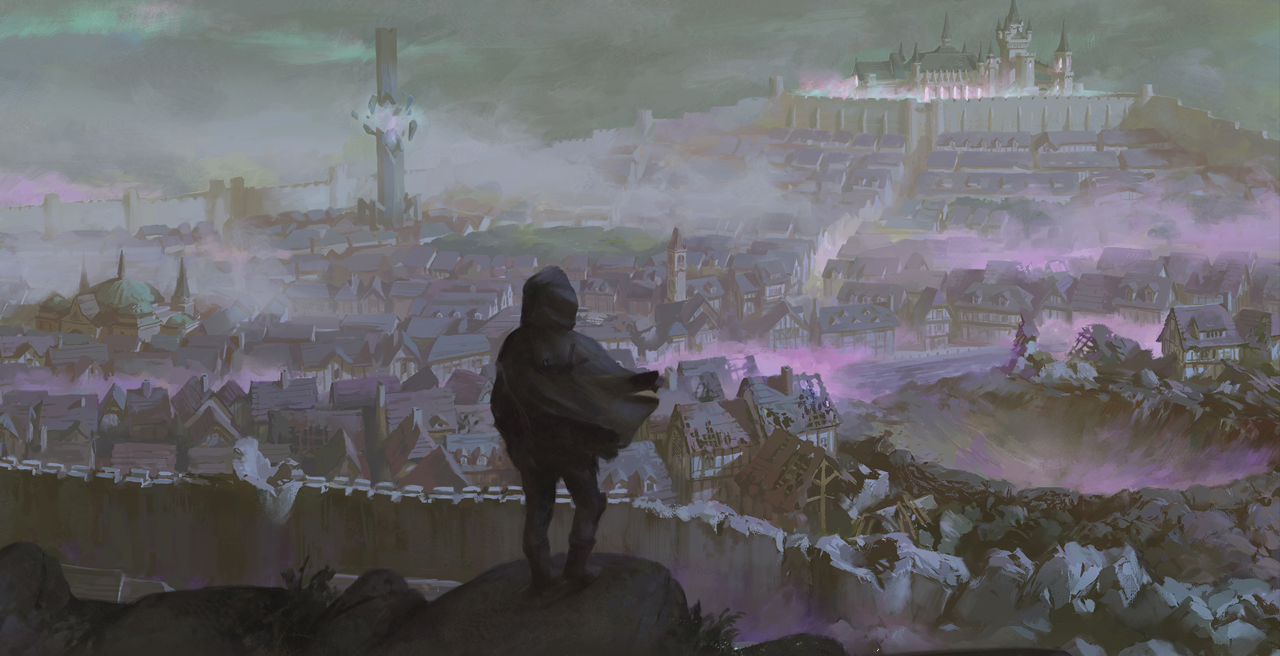
Emberwood is no longer the farming town it once was. The fields have gone barren, and the village now survives—and thrives—on an economy fueled by adventurers, scavengers, factions, and the trade of delerium pulled from the ruins of Drakkenheim.

Emma’s Tour of Emberwood
Your introduction to the village came in the form of Emma Crowe, who insisted that wandering blindly through Emberwood was free—but dangerous. For one gold apiece, she gave you the lay of the land.
You saw:
-
Caravan Court, the bustling market square where gear, rumors, and questionable opportunities are traded.
-
The Red Lion Hotel, neutral ground and a place of rare comfort.
-
The Chapel of Saint Ardenna, where Flamekeeper Hanna offers healing—for coin.
-
The looming Watchtower, held by the Hooded Lanterns, who currently keep the peace.
-
The dingy Skull & Sword Taphouse, where rough company watches newcomers carefully.
-
The warmer Bark & Buzzard, where locals and adventurers mingle.
-
The lively Gilded Lily, where stories and songs still dare to be told.
-
The abandoned Eventide Manor, a burned relic of a quiet mystery.
-
And finally, Crowe & Sons Smithy, where survival is reforged in steel.
You learned that the Hooded Lanterns serve as the de facto authority in town. Ansom and Petra Lang were named as lieutenants keeping order. Patrols were visible. Order exists—but only just.
At the Skull & Sword, a handful of unsavory types made subtle comments about “road tolls.” No blows were traded, but it was clear not everyone in Emberwood is pleased with new arrivals.
Preparation for the Ruins
With fresh gold in hand, you returned to Caravan Court.
Most of you invested in Monster Harvesting Kits, each including an Uncommon Animus Vessel. Tough Luck also secured Climbing Gear and Rustar bought a Dungeoneer's Pack and Cook's Utensil's. Doc Skizzet purchased a Delerium Extraction Kit.
Through vendors and pointed instruction, you learned:
-
Delerium must be handled carefully.
-
Extraction requires distance and patience.
-
Preservation determines value.
-
Components can be sold… or studied.
Preparation is survival.
The Bark & Buzzard Incident
Later, at the Bark & Buzzard, ale flowed freely—particularly for Tough Luck and Six.
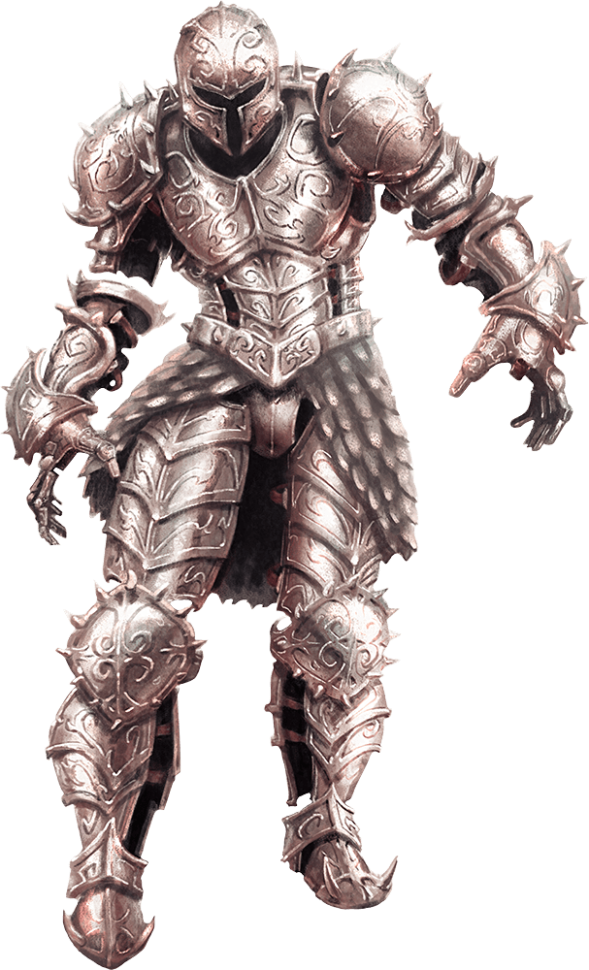
Rustar found himself drawn into a wager with a boastful local named Pluto Jackson, who challenged him to a contest: disable a suit of armor in the back courtyard faster than he could.
The armor animated.
Rustar fought bravely—but fell unconscious before besting it. Pluto finished the job and collected the wager with good humor.
A hard lesson, but one survived.
Dinner with River
That evening, Emma arranged a meeting at the Red Lion with River of the Amethyst Academy.
River assessed you carefully. She asked why you had come to Drakkenheim. She listened.
The Academy’s public mission was made clear:
-
Study and catalogue delerium.
-
Preserve arcane knowledge.
-
Harness the power of these chaotic crystals for advancement—and eventually, control.
Tensions surfaced—particularly when Six challenged the Academy’s history of “taking children” from Drakkenheim after the meteor strike. River did not bristle. She did not apologize.
Instead, she answered precisely.
She explained that the Academy operates under the Edicts of Lumen, ancient laws governing the training and regulation of arcane magic. Untrained magic, she insisted, is not merely dangerous to the wielder—it is catastrophic to everyone nearby. Children manifesting arcane potential are brought to the Academy not as trophies, but as a matter of containment, discipline, and survival.
She did not deny that the practice is harsh.
She simply maintained that it is necessary.
Whether that answer satisfied anyone at the table was another matter.
Tough Luck asked about his missing sister. River promised to look into any information that might surface.
Ultimately, River declined to offer formal employment to an untested group. However, she provided an opportunity:
A stable delerium deposit has been identified in the southern Outer City, near the Chapel of St. Brenna.
If you can:
-
Safely enter the ruins,
-
Extract delerium samples,
-
Document the conditions,
-
And return alive,
…then there may be further work—and significant compensation.
She provided you with a map and left you to decide.
Faith, Fire, and Rest
Drakzen visited the chapel and spoke with Flamekeeper Hanna. Healing is available to those who return breathing. Those who return cold receive last rites and cremation.
The rest of you eventually retired—some more sober than others.
That night, something shifted.
Not power. Not destiny.
Resolve.
You are no longer strangers in Emberwood.
You are no longer uncertain about the path ahead.
The ruins no longer feel distant.
Whatever waits in Drakkenheim will not meet you as you were when you arrived.
The party has reached Level 2.
Active Threads
-
The Delerium Hunt for the Amethyst Academy.
-
The Hooded Lanterns may have work—and information—if approached.
-
Tough Luck’s missing sister remains unaccounted for.
-
Six’s feelings toward the Academy run deeper than he admits.
-
Doc believes his wife may yet live within the ruins.
-
Augustine seeks to reclaim what he believes is his.
-
Drakzen intends to visit former holy sites.
-
Rustar seeks to spread the word of the Flame.
Session 3 begins with your first deliberate expedition into the ruins of Drakkenheim.
Prepare accordingly.